| Back | / | Modding | / |  NewPray |
| Antec Three Hundred Two Computer Case - Creating an Internal Air Scoop & Part II |
|
|---|---|
Introduction: I don't use the upward facing fan space because of noise concerns, possible dust accumulation, and my preference for a positive pressure computer case, so I block it off. For the noise concerns I used a fanless graphics card, because two cards with fans annoyed me. I originally hated the design of the Antec 302, becoming aware of it's release because of my Antec 300 experiences. I say "hated" past tense, because I'm extremely happy with this case now. My quick modification might have turned this into one of the best positive-pressure cases available. The first thing to know is that all the sabre saw cutting, dremel cutting, flattening, and placement of the two rivets took about four hours. That's compared to about five days of work for my previous 300 modding. The second thing is two The other slight concern is that after the cut, the side freed up has too much flex. If I had a welder or brazing equipment, that could be reversed with a reinforcing strip of metal. Maybe I'm worrying too much, but you've been informed. [Update: The summer of 2016 I took the case to a metal shop and we reinforced by two crossbars seen further on. I have complete confidence the case would have been fine without that step. I just decided to indulge myself.] | |
 This is the beginning of the first cut. Notice how my sabre saw's base plate is at full slant. You'll probably need to do the same. Stop at each tab space to avoid damaging them. You won't be able to cut right to the end, so nibble in with a dremel and cutting wheel. Then remove the rivet at the top of the cut in the 5-1/2" bay, and the second holding the flap from the bottom of the case. | |
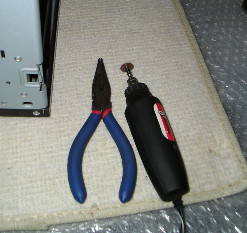 These are the only two tools I use to remove the top inside rivet. Make crosses in the top until you hit the case. Then squeeze the rivet tops and break off the scored surface. Allow the bottom of the rivets to drop out. | |
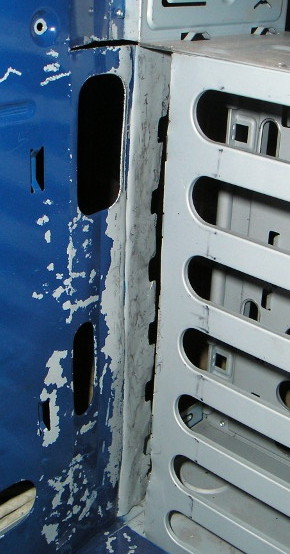 The new rough window onto the motherboard after hammering the crease. | |
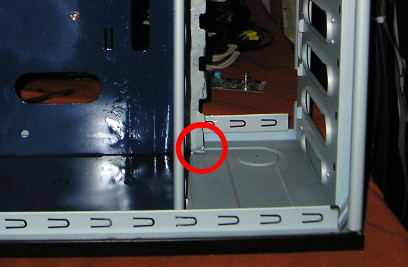
 Second Case Notice how much flatter the creases have been hammered here, because I did the straightening before making the small perpedicular cut (circled) at the top. There is slight damage above that cut, basically superficial, very hard to see later, and well worth it for the flatter creases. | |
 One of the two new rivets (circled), and one on top as well. | |
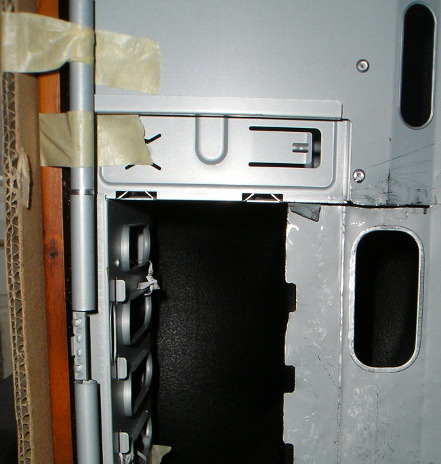 Second Case Notice the tab on the freed flap at the top to be bent back for a second rivet. Also notice the layer of wood and good cardboard taped on the front, which allows for a better long cut. | |
 Here's the back of the computer after installation. The air-scoop with 'box end' now running along the back of the hard drive cage is very effective at keeping the front fan air focused on the face of the motherboard. | |
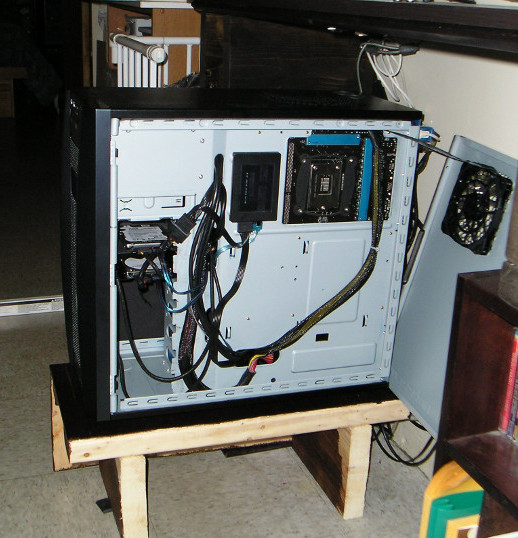
 Here's another view under a modified desk hutch, and the new $7 hand-made stand so that the rear fan and DVD drive clear the ledge created by raising the hutch's shelf. The Antec supplied rails had permanent pins that only fit 3.5" disks, and not my 2.5" (SSD) adapters, so I pushed them out and used screws. You might notice, if you read my previous case modding project, that a lot of the equipment on this new build is taken from the predecessor. The new components are the Asus P8Z77 Pro motherboard, and a Radeon R7. [Update: See the bottom picture. I've gone down to one Nvidia graphics card, since together the onboard graphics and drivers updates are now handling my triple set of double monitors.] The Thermaltake water cooling is from the previous computer. | |
| -First Posted July 13, 2015. |
| -Second Version Posted August 7, 2016. |
| -Third Version Posted June 21, 2018. |
| -Fourth Version Posted September 12, 2019. |
| -Fifth Version Posted June 30, 2020. |
| Stage Two - Summer of 2016 - Cut Air Paths and Optional Reinforced Case |
|---|
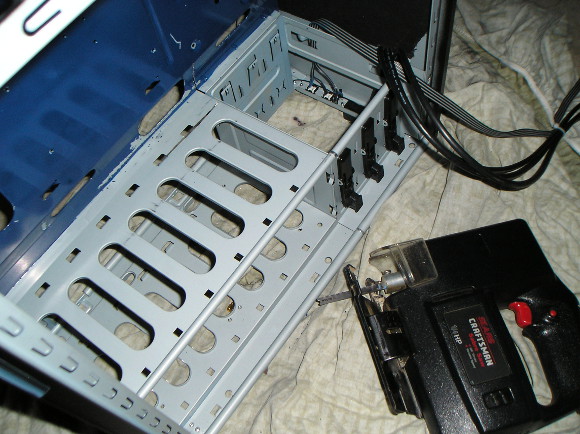
 I noticed the fans mounted behind the front grill had to push air past a lot of metal meant for mounting hard drives, so I decided to cut out about 40% by rough estimate of the total area, without sacrificing hard drive expansion slots. I made the decision to cut much more in front of the top fan than the bottom to retain strength from flexing when being moved. |
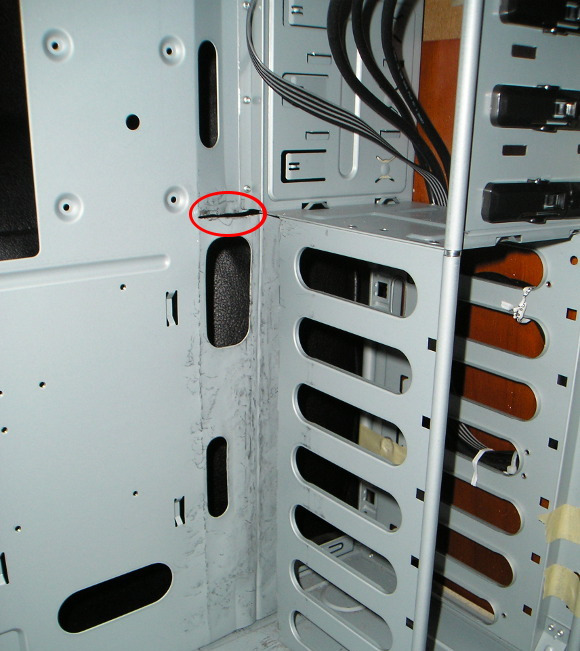
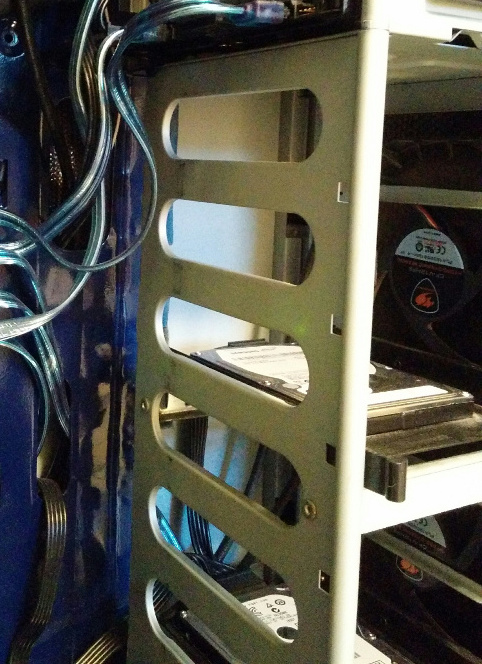 Notice that on the left half of the hard drive cage there are two rivets just below the level of the top mounted drive. I had two bars created that go between the cage sides and firm up the structure. This is also a better view of the air scoop area I've created. I had to take the case to a metal shop because reinforcing was beyond my limits as far as equipment at home, and I wanted to take the extra step, although strictly speaking the work isn't necessary, as I stated above in the introduction. |
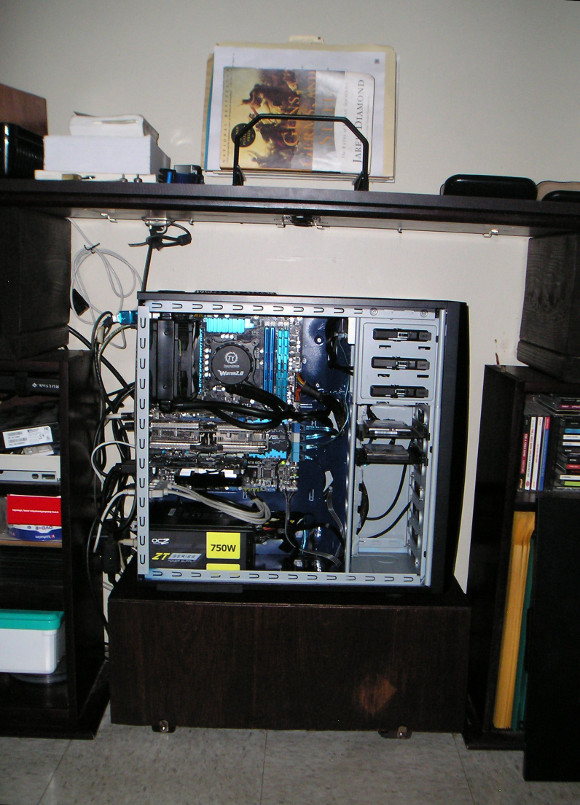
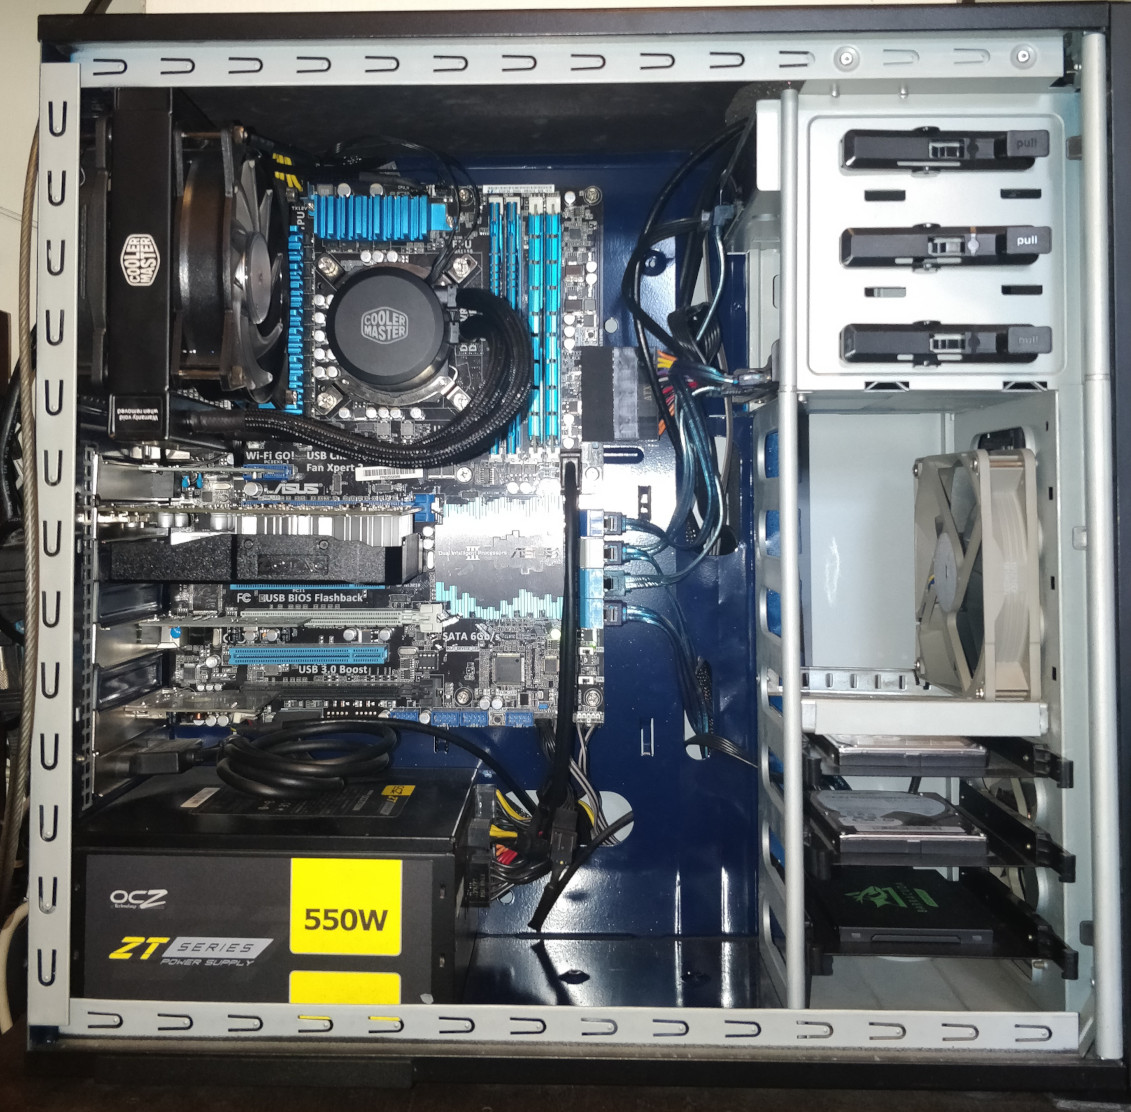 My current setup as of July 11, 2020, down to one graphics card, with the added benefit of an extra NIC card I dedicate to virtual machines. |
| -Stage Two first Posted March 9, 2017. |
| -Slight revisions in 2017, 2019, and July 11, 2020. |
mateek |